


- Out-of-Stock


Jacek Janczyk

free shipping in Poland for all orders over 500 PLN

If your payment will be credited to our account by 11:00

Each consumer can return the purchased goods within 14 days
Discover the possibilities of the Arduino platform!
Arduino is an amazing platform that opened the world of electronics to everyone. Thanks to it, you can build an advanced electronic system without the need for time-consuming projects and tedious calculations. Arduino quickly gained enormous popularity, followed by numerous additional modules. They let you build any device - only your imagination limits you!
This unique book was entirely devoted to the Arduino platform. You will find a detailed discussion of the platform's possibilities, numerous examples and descriptions. During the reading you will learn how to prepare the work environment and start creating simple projects using digital input-output ports. In the following chapters you will learn more and more advanced Arduino capabilities. You will use DC motors and servos, apply ultrasonic sensors and display information on the LCD display. In addition, you'll find that you can integrate Arduino with iOS and other software. This book is an excellent reading for all electronics enthusiasts.
Thanks to this book:
Your pass to the world of electronics!
Table of Contents
Introduction (11) Acknowledgments (13) About the book (15) PART I. I START (19) Chapter 1. Welcome, Arduino (21)
Chapter 2. Digital inputs and outputs (41)
Chapter 3. Simple projects: input and output (61)
PART II. WE ABLE TO ARDUINO TO WORK (81) Chapter 4. Expanding Arduino (83)
Chapter 5. Arduino in motion (105)
Chapter 6. Detecting items (139)
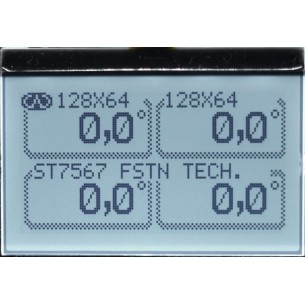
Chapter 7. LCD displays (155)
Chapter 8. Communication (177)
Chapter 9. Time for games (213)
Chapter 10. Arduino integration with iOS devices (241)
Chapter 11. Electronic gadgets (269)
Chapter 12. Using overlays (287)
Chapter 13. Software integration (305)
Appendix A. Installation of the Arduino IDE environment (329)
Appendix B. The coding manual (337)
Appendix C. Libraries (353)
Appendix D. Component list (357) Appendix E. Useful references (361) Index (363)
The light line has 8 LEDs type WS2812 - thanks to the built-in controller, it is possible to connect the strips in series and control them with one signal cable. NeoPixel Stick 8 x WS2812
No product available!
No product available!
No product available!
No product available!
No product available!
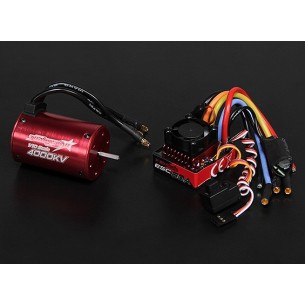
HK Turnigy TrackStar Waterproof 1/10 Brushless Power System 4000KV/80A (25138)
No product available!
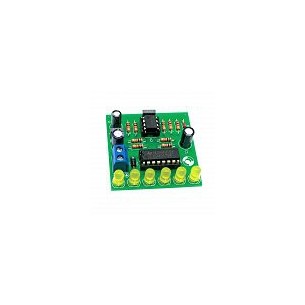
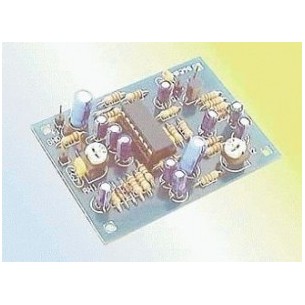
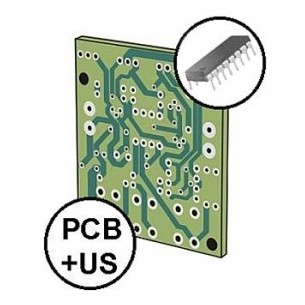
AVT kit for self-assembly running lights. AVT795 B
No product available!
No product available!
No product available!
A set of wireless keyboard and mouse working on the 2.4 GHz frequency. It can be used with minicomputers eg Raspberry Pi, BeagleBone, Odroid or Orange Pi. BLOW KM-1
No product available!
No product available!
No product available!
No product available!
No product available!
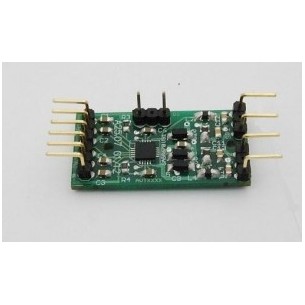
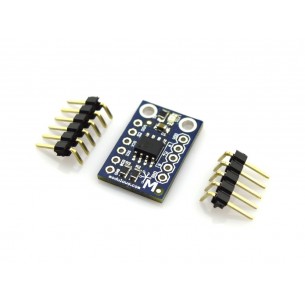
The module enables the replacement of a mechanical potentiometer with an electronic one, has an SPI interface and a built-in MCP4151 circuit. MOD-49
No product available!
No product available!
Jacek Janczyk